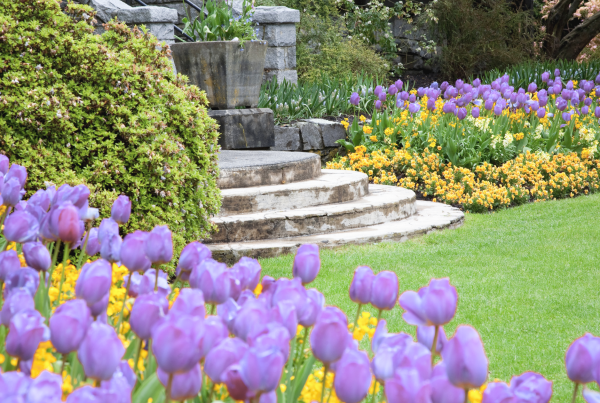
Fall is the best time to plant spring flowers – it guarantees beautiful blooms in the spring! In the Charlotte, NC area, ideal fall bulb planting temperatures typically hit around late October and last into November. If you want to wake up to a flourishing garden on March 20th (the official first day of spring), it’s time to start planning today!
Fall Bulb Planting
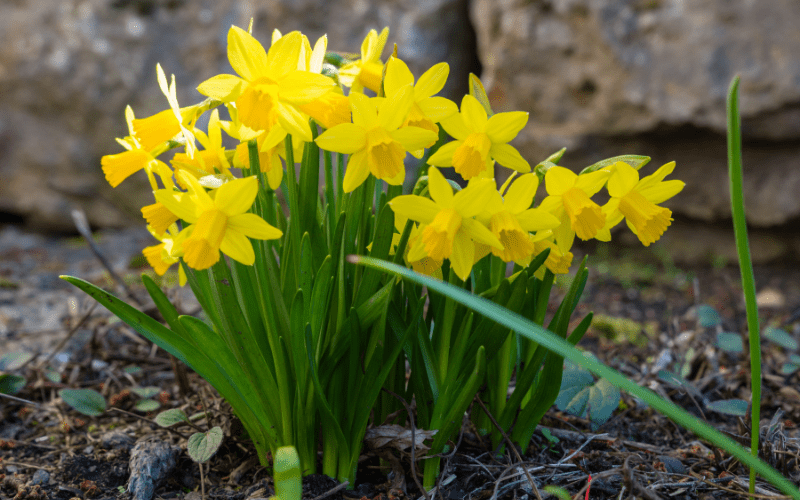
So what are fall bulbs? The name can be misleading, but spring-flowering bulbs are planted in the fall because they need the cool, moist autumn soil to awaken from their dormancy and grow their roots in preparation for March and April. They are often referred to as “dormant perennials” and include Charlotte homeowner favorites like tulips, daffodils, snowdrops, irises, and hyacinths.
The best time for fall bulb planting begins when the temperature of your soil drops below 60 degrees, or about six weeks before the first hard frost. In Charlotte, bulbs should really be precooled for 12 weeks before planting, so make sure to ask your landscaper or bulb supplier if your plants need a cold treatment before you get to work on your new landscape design. If you need a little extra inspiration before choosing your plants, take a look through our landscape project gallery!
Charlotte Bulb Planting Tips
Although planting perennial bulbs is fairly straightforward, there are some small nuances to be aware of that can support your flowers in achieving a longer, healthier lifespan.
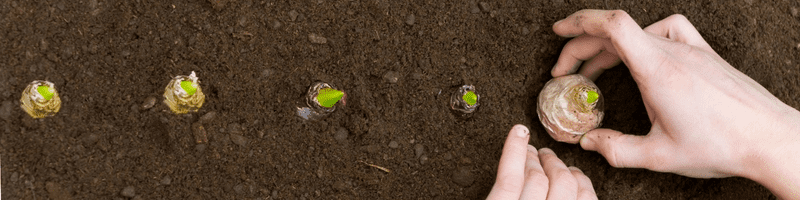
- First, and probably most obvious of our tips, is to plant your bulbs with the point facing up! This will allow the roots to grow straight down into your soil.
- As a good rule of thumb, we suggest planting your bulbs 2 – 3 times as deep as the bulb is wide. For larger bulbs, this typically means digging a 6-inch hole, while smaller bulbs may only need to be planted about 3 inches deep.
- There are two techniques you can choose from when it comes time to begin your fall bulb planting. One is to dig individual holes for each plant, going slightly deeper than the recommended depth to add a mixture of loose soil and food for the bulbs, then placing the bulb into the hole and covering it with more loose soil. The second method is to dig your entire flower bed to bulb depth, then place each bulb exactly where you want it before covering the bed back with loose soil. This second option is best when planting a large number of flowers. In both options, it’s important to gently push the topsoil into place around each bulb to eliminate any air pockets.
- Bulbs need plenty of water, and that also means your flower bed needs sufficient drainage. If you are planting your bulbs in an area that tends to gather standing water, work in a layer of compost or gravel just below the surface to help eliminate access water.
Preparing for Your Spring Flowers
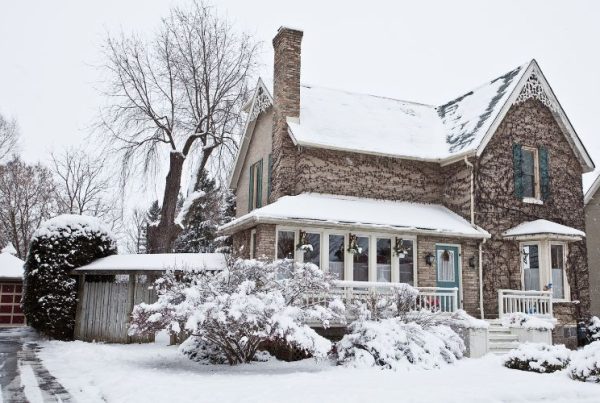
Once your bulbs have been securely planted, they’ll need to be watered. If you planted the bulbs six inches below the ground, the water will need to soak at that same depth so it is okay to pour on what may feel like excess. This will also help the soil to settle within your bed. You will only need to water the bulbs one more time before the first bud appears in spring – in Charlotte and across most southern areas, this will typically be late December before the ground freezes.
And remember – if gardening isn’t your thing, we’re here to help! At MetroGreenscape our team of outdoor living experts will work with you to design, install, and maintain your dream landscape. After an initial onsite consultation, we know exactly what will and will not work with your yard and are able to recommend the best grass, trees, and plants to thrive in your unique environment. Call us today to learn how we can help transform your outdoor space into a breathtaking landscape!


