No matter the size of your lawn, a good irrigation system saves you time and money, as well as reduces water waste. Improving the efficiency of your watering system can also improve the health of your lawn, garden and flowerbeds.
When the warmer weather rolls around, it’s time to start thinking about spring sprinkler maintenance. However, the sprinkler system startup process can be a big job. Depending on the size of your property, setting up a sprinkler system for the season can take up to two hours or more. As with any big job, getting your irrigation system ready for spring is faster and easier if you know how to do it.
How to Start Up a Sprinkler System in 4 Easy Steps
Step 1: Turn on the control panel
Turn on the control panel, which is the brain of the sprinkler system. Start the control panel and determine if the date, scheduling, and irrigation zone settings are correct. Check the life of the battery; you will likely need to replace a battery that is older than six months.
If your control panel is not working quite right and you cannot find the owner/operator manual that came with the unit, you may be able to find documentation online by typing in the panel’s model number into a search engine.
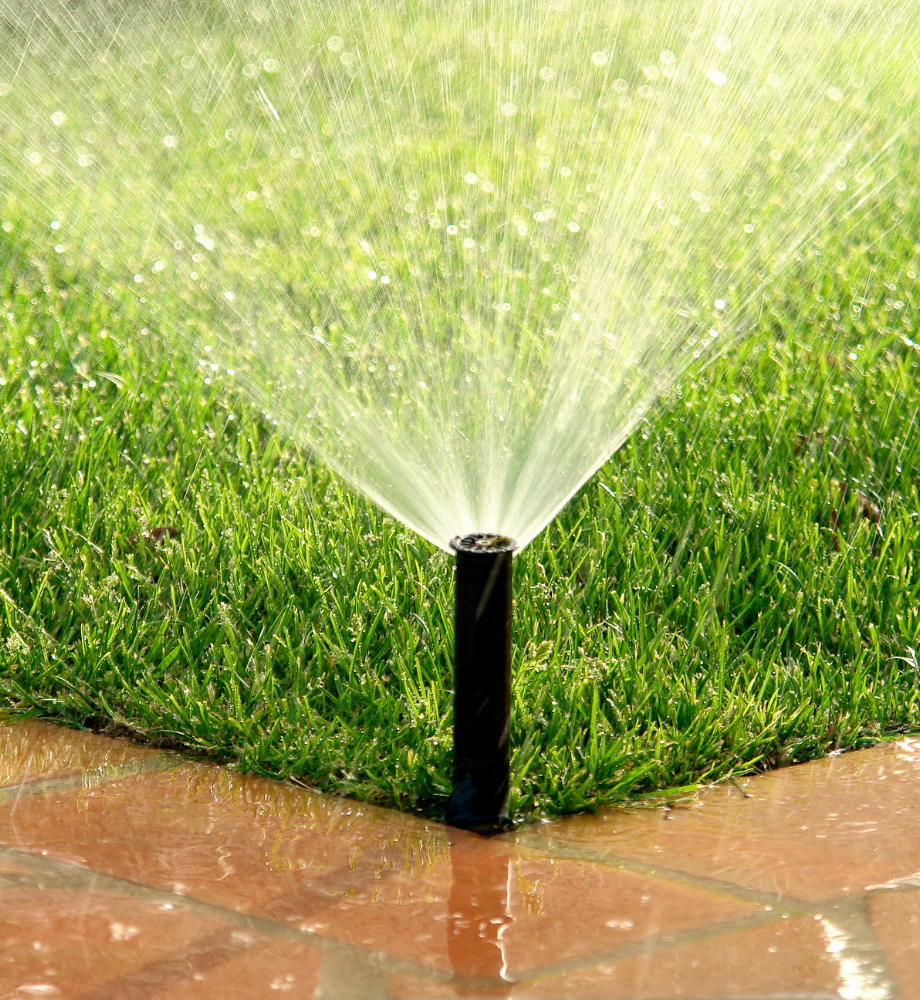
Step 2: Clean sprinkler heads
Hard water buildup, debris, and rust can prevent the sprinkler heads from distributing water evenly across your lawn or beds, which can leave some spots dry while flooding others.
Assess the area immediately next to the sprinkler heads: make sure rocks and debris do not obstruct the heads or water flow. Free buried sprinkler heads and loosen compacted soil. Re-attach any fittings you had removed last fall, and secure the fittings with new plumber’s tape if necessary. Inspect all valve boxes for rodent nests and debris.
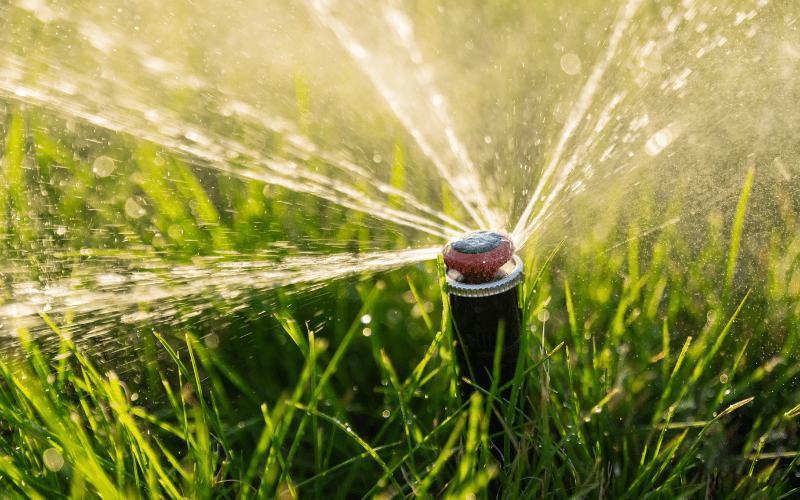
Wipe the sprinkler head clean and disconnect it from the water hose. Using a dry cloth, wipe any dirt, mud, silt, or other organic material from the unit. Inspect the sprinkler head for damage; look for any cracks, damage, or clogs that might prevent water from spraying as it should. Swish the head around in a bucket of water or rinse with a garden hose, and use a toothbrush to remove debris.
Some sprinkler heads come apart so you can rinse out the screens inside. Others allow you to insert a bent paperclip or piece of wire into the opening of the sprinkler head carefully to dislodge any dirt or debris that has built up in the small openings of the sprinkler heads.
Reconnect the head to the irrigation system. Each sprinkler valve should be closed, except for the one farthest from the main water source. Leaving the farthest valve open allows air to escape when you turn on the water. If your irrigation system has several branches that feed off a mainline, open the valve and remove the nozzle of the last sprinkler on each branch.
Step 3: Locate and open the main valve slowly
The sprinkler system’s shutoff valve may be indoors in your basement or crawlspace, or outdoors inside the sprinkler system valve boxes around your yard.
Open the main valve slowly. Opening the valve too quickly allows water and air to rush through the pipes to create a “water hammer,” which can cause enough pressure to break valves, crack your pipes, and even rocket sprinkler heads into the air.
Slowly open the main valve until you can hear water flowing. Wait for several minutes to allow water to feed into the mainline before opening the valve a few degrees wider. Continue opening the valve a few degrees every few minutes until it is fully open.
In systems where branches feed off the mainline, you may need to open valves where each branch meets the mainline. Once the mainline is full of water, repeat the slow-and-steady process of opening each valve where the branches meet the mainline.
Step 4: Check irrigation zones
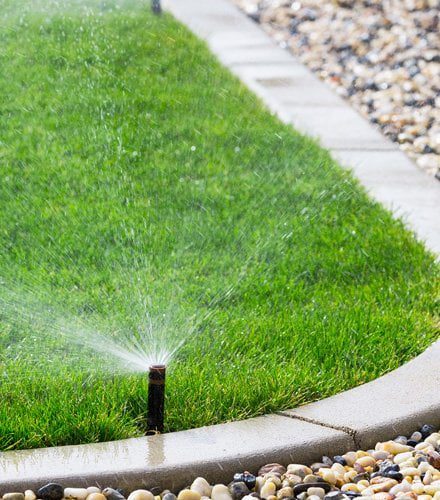
Check each irrigation zone in your yard. Turn on each zone, one by one, and assess how they work. Open each valve box and make sure there are no leaking valves or other issues. Look for malfunctions, areas of low pressure that might indicate a water line break, and check for proper rotation of each sprinkler head. Watch for soggy spots and uneven coverage.
Opt for a Professional Irrigation Audit
If you find the sprinkler system startup steps are too confusing or intimidating, call a professional. Irrigation systems are complex and making mistakes in spring sprinkler maintenance can be costly. A professional can inspect your sprinkler system and make any repairs in a timely manner.


